Share
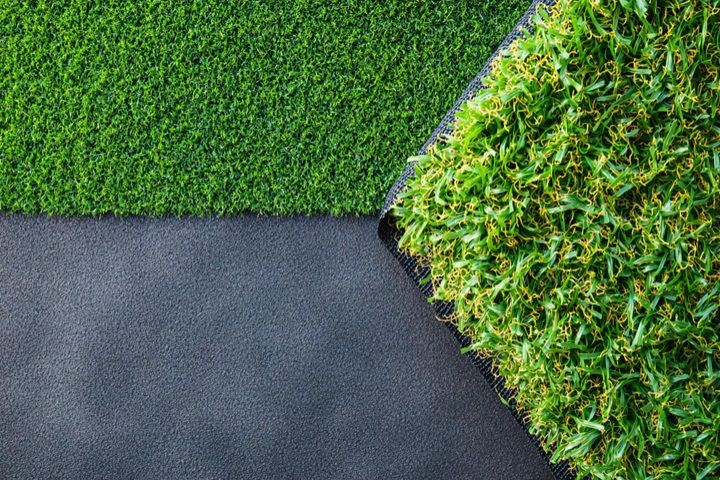
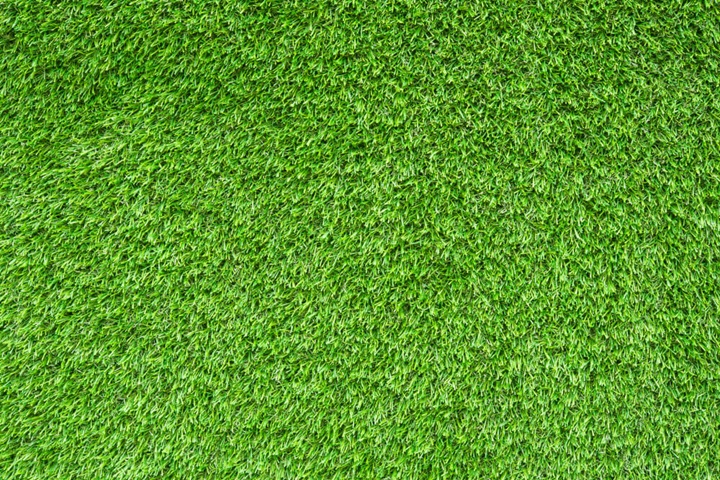
Transform your outdoor space with ease! Laying artificial grass can revolutionise the look of your garden.
Are you fed up of having to mow the lawn, only for it to grow back again in next to no time, alongside the continuous problems you have with a garden lawn, such as mole holes?
It is no wonder more gardeners and homeowners are opting for artificial grass (or astroturf) due to its easier maintenance. However, there are ways and means of implementing artificial grass correctly, and many end up making the common pitfalls and mistakes when laying it.
However, in this article, you will learn the correct ways on how to lay astroturf, even for the eager DIY gardener, so that no errors are made, and you can enjoy an easy to maintain garden without the worry of weeds or insects digging up the astroturf.
Key points:
- Understand the tools and materials needed for installation.
- Learn step-by-step procedures for laying artificial grass.
- Tips on measuring and ordering the right amount of astroturf.
- Best practices for ensuring long-lasting results.
- Maintenance advice to keep your artificial grass looking great.
The real question is: which is better, astroturf or real grass? Find out now.
- Tools for Laying Artificial Grass
- Planning and Preparing
- 1. Clearing the Space
- 2. Measuring and Ordering Your Artificial Grass
- 3. Ordering Your Turf
- 4. Removing Existing Turf (Optional)
- 5. Laying the Foundation
- 6. Sand Base Layer
- 7. Installing Weed Membrane
- 8. Laying the Artificial Grass
- 9. Joining and Securing the Grass
- Final Touches
- How To Lay Artificial Grass on Gravel or Concrete
- Laying Astroturf Made Easy
- FAQs
Tools for Laying Artificial Grass
Be sure to gather what tools you need before you begin laying artificial grass. Installing artificial grass, or “astro turf,” requires more than just rolling out the astroturf. Here’s what you’ll need:
- Turf cutter: Essential for removing existing grass.
- Shovel/spade: For preparing the base layer.
- Stanley knife: For precise cutting of the turf.
- Joining tape and adhesive: To seamlessly connect turf sections.
- Tape measure: To ensure accurate lawn measurements.
- Planks for compacting: To even out the base layer.
- Ground pins or galvanised nails: For securing the turf.
- Hammer/mallet: To fix the pins or nails.
- Broom/stiff brush: To fluff up the grass blades post-installation.
- Gloves: To protect your hands during the work.
- Sand spreader: For evenly distributing infill, if required.
Planning and Preparing

With tools gathered, you can start prepping where you will lay artificial grass:
1. Clearing the Space
Starting by planning the area carefully to ensure that all cables and pipes are well below the surface. Use the turf cutter to remove old grass and clear the area of stones or debris to a recommended depth of about 2 inches.
For the base, lay down a layer of type 1 stone for optimal drainage and stability.
2. Measuring and Ordering Your Artificial Grass
Measure your garden accurately since artificial grass is sold by the square metre. Include extra length to account for trimming and adjustments during installation. Most astroturf is sold in widths up to 25 metres to cater to different garden sizes.
3. Ordering Your Turf

Once you have your measurements, order the turf according to the calculated area.
4. Removing Existing Turf (Optional)
Start removing the existing turf, whether it is grass, gravel, or other terrain. To remove it efficiently and with little hassle, set your cutting depth between 40mm to 50mm. A turf cutter can aid this process, especially for larger gardens, while a shovel might work better for smaller areas.
5. Laying the Foundation
After clearing the turf, it’s time to lay a solid foundation.
Start by installing treated timber edging around the perimeter. This serves as the anchor for your artificial grass.
Use 19mm x 38mm for edges and 19mm x 97mm for flower beds.
Following this, add a layer of type 1 crushed limestone to assist with drainage and stability.
Compact this base to a thickness of 35-40mm to ensure a firm underlayer.
6. Sand Base Layer
On top of the limestone base, spread a layer of sand, aiming for a thickness of 10-15mm. Compacting the sand creates a smooth and level surface, essential for the next steps. Ensure the sand level reaches the top of your timber edging.
7. Installing Weed Membrane
Before laying the artificial grass, place a weed membrane over the sand. This membrane prevents weed growth and ensures proper drainage.
Overlap each joint by at least 100mm and secure it to the timber edging to maintain its position.
8. Laying the Artificial Grass
With the base ready, roll out your artificial grass. Cut it to size using a sharp knife.
If laying multiple pieces, align them so the pile direction is equal. Ideally, the pile should face towards your house.
9. Joining and Securing the Grass
Next, join the pieces of grass using specialised glue and seaming tape. This step is crucial for a seamless look. Ruffle the edges of the grass at the seams to blend them more naturally.
Edge Fixation:
- Once joined, secure the edges of the artificial grass to the timber perimeter.
- For flower borders, overlap the grass by 50mm and fasten it sideways.
- For edges adjacent to pathways or fences, attach directly.
- Use a high-powered staple gun or small screws for this purpose, making sure to tuck the grass fibres before securing.
Final Touches
After the grass is laid and secured, use a stiff broom to brush the fibres upright. This not only helps the grass stand tall but also removes any debris from the installation process.
Learn how you can make your garden appear bigger than it actually is under the illusion of these garden mirror ideas.
How To Lay Artificial Grass on Gravel or Concrete

When laying artificial grass on other surfaces such as gravel or concrete, the process requires a slightly different approach to the one shown above
For instance, you should ensure the surface is smooth, level, and free from debris. If laying on concrete, use a suitable outdoor adhesive to secure the grass. Accurate alignment is important here as you will only have one chance to position it correctly.
After applying the adhesive, pin the grass down and allow it to set for 24 hours before use.
Laying Astroturf Made Easy
In conclusion, this is everything that you need to know about how to lay artificial grass, from preparing the base and laying the turf to securing edges and maintaining your new lawn. By following these steps on how to lay artificial grass, you can enjoy a beautiful, low-maintenance green space and, when paired with our outdoor teak garden furniture, you can enjoy a lovely evening meal with family and friends without the worry of soil, wet grass, or mole holes interrupting your lush garden environment.
Try these outdoor garden table decoration ideas to make your garden table dining ideal for friends and family.
FAQs
Installing artificial grass directly on soil is not advised due to the potential for rapid deterioration from environmental conditions. The soil may shift or erode, adversely affecting the base.
Yes, you can lay artificial grass on concrete provided the surface is level and ensures proper drainage. To extend the longevity and appearance of your artificial lawn, consider adding an underlay. This helps cushion the surface and maintain the quality of the grass.
Yes, you can lay artificial grass on decking. It’s important, however, to ensure that the decking is in good condition—sturdy and not deteriorating. To achieve the best results, utilise an underlay and a weed membrane to stabilise and protect the artificial grass, ensuring it stays looking pristine.
Depending on the turf and soil type, as well as the quality of ground preparation, walking lightly on the turf is usually fine immediately. However, for heavier or more frequent foot traffic, it’s advisable to wait 2-3 weeks to ensure the turf is well-established.
Yes, turf can be laid on a slope. When unrolling the turf, do so across the slope rather than down it. To ensure good contact between the turf and the soil, press down the turf using a rake head or a piece of wood. Any gaps that remain can be filled with light soil and tamped down to secure the turf in place.
The cost of having turf professionally laid can vary based on several factors including the quality of turf and soil preparation. While anyone can technically lay turf, doing it well involves careful selection of turf and proper soil preparation. Prices typically start at around £15 per square metre and will increase depending on the quality of the installation.
Sources
Kerr, A., (2023) Artificial vs real grass: The pros and cons. HomeOwners Alliance. [online] Available at: https://hoa.org.uk/advice/guides-for-homeowners/for-owners/real-vs-artificial-grass/ [accessed 16/08/24]
Anna is the marketing and office manager for Garden Benches – a premium supplier of high-quality wooden benches and other outdoor furniture.